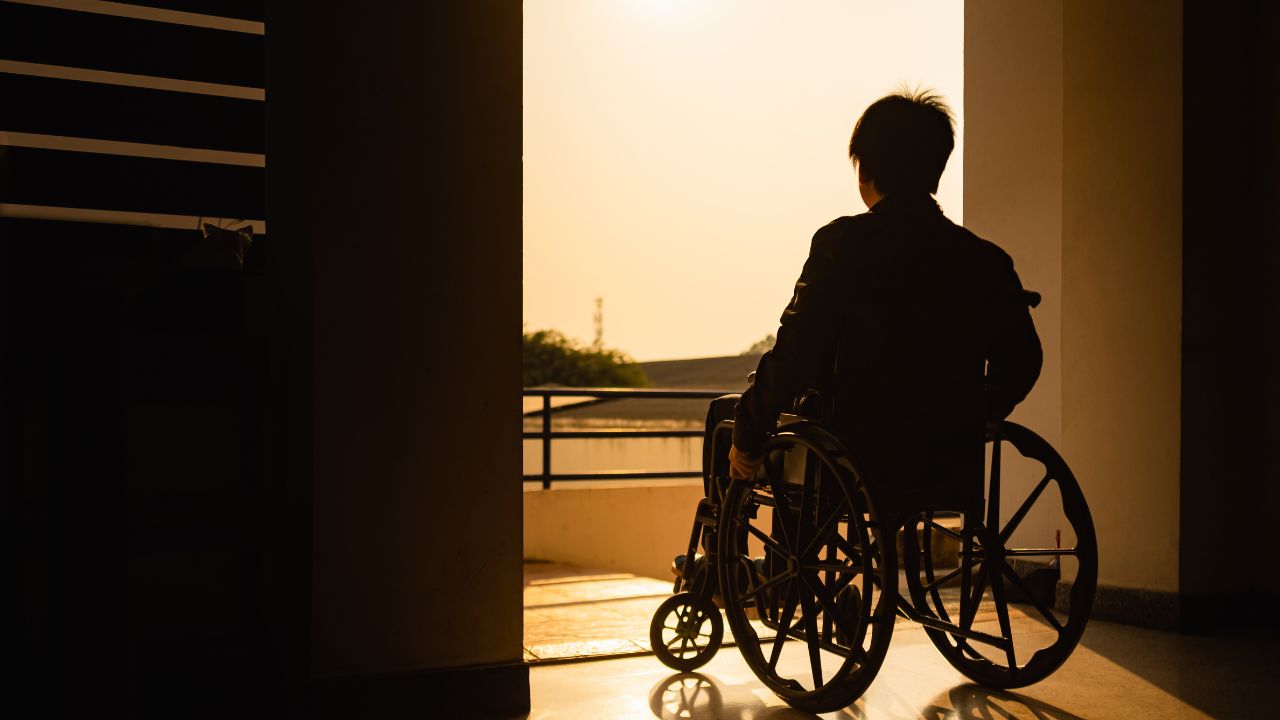
Planning a trip always requires organization, but when it comes to accessibility, the details make all the difference. At Vavava Viajes, we know that a great accessible trip starts long before you pack your suitcase. That’s why we’re sharing this step-by-step guide, so you can enjoy your adventure without surprises—just freedom, comfort, and safety.
1. Identify your specific needs
Every person is unique, and accessibility isn’t the same for everyone. The first step is to clearly define what kind of support or adaptations you need:
Do you use a manual or electric wheelchair?
Do you have reduced mobility, low vision, or limited hearing?
Do you require a hoist, adjustable bed, or medical assistance?
Are you traveling alone or with someone?
Knowing your profile will help you filter destinations, accommodations, and activities right from the start.
2. Choose an accessible and realistic destination
Some cities and countries are more prepared than others. At Vavava, we help you find destinations that have been tested and reviewed by other travelers with disabilities. Key aspects to look into:
- Adapted public transportation
- Barrier-free urban infrastructure (sidewalks, traffic lights, ramps)
- Accessibility in museums, restaurants, and natural areas
- Terrain and climate (avoid hilly areas if they might be a challenge)
👉 Tip: Look for destinations that are not only accessible but also welcoming and safe.
3. Check your accommodation carefully
It’s not enough for a hotel to say “adapted.” Make sure the room, bathroom, common areas, and entrances are 100% functional for your needs.
Verify:
- Wide doors (at least 80 cm)
- Roll-in shower
- Grab bars
- Turning space for your wheelchair
- Bed at a proper or adjustable height
- Spacious elevator
At vavava.org, we offer options verified by real users, not just marketing descriptions.
4. Plan accessible transportation from home
This includes how to get there, how to move around once you’re there, and how to return:
- Plane: Request assistance from the airline at least 48 hours in advance. Confirm they’ll transport your wheelchair or equipment at no extra cost.
- Train: Many stations offer assistance, but it’s best to book ahead.
- Local transport: Check if there are adapted taxis, buses with ramps, or apps offering accessible vehicles.
- Adapted rental car: If you prefer to drive, some companies offer vehicles with hand controls or lifts.
5. Create a flexible and accessible itinerary
Don’t overload your schedule. Rest and flexibility are also part of the journey.
Plan:
- What places you’ll visit
- Which are accessible and whether reservations are required
- Where to eat (some restaurants are more comfortable than others)
- Inclusive activities: adapted trails, beaches with amphibious chairs, guided tours in sign language, etc.
At Vavava, we help you design real experiences, not just checklists.
6. Prepare your documents and personal resources
- Translated medical reports (especially if traveling abroad)
- Disability certificate (can give access to discounts or priority services)
- Digital copies in the cloud or on your phone
- Travel insurance with appropriate medical coverage
- Emergency contacts and a list of medications
7. Use technology to your advantage
There are plenty of useful apps and tools to make your trip easier:
- Wheelmap: crowdsourced map of accessible places
- Be My Eyes: remote visual assistance
- AccessNow: reviews and ratings focused on accessibility
8. Seek support, not obstacles
Don’t be afraid to ask for help when you need it. In many destinations, you’ll find local associations, volunteers, or assistance services that can accompany you. And most importantly: you are not alone.
At Vavava, we’re a community that shares real experiences and solutions. If you have questions—just ask. There are many people like you who have already walked this path and are happy to help.


